Thread Bunching Under Your Fabric? Here’s the Fix
A tangled knot under your fabric is called a bird’s nest. It looks like the machine is broken, but it almost never is.
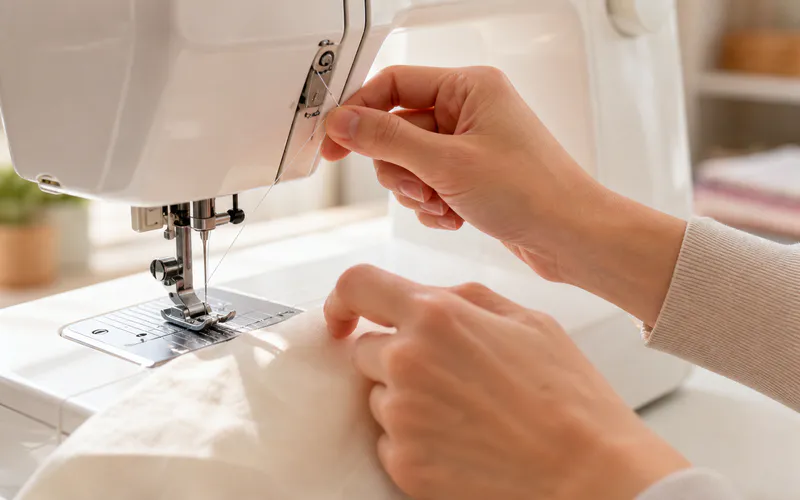
Start here: what does the mess look like?
Where the tangle appears is a clue. Pick the problem that looks like yours to jump to the right fix.
Not sure: Read the fixes in order. They start with the most common cause, and each check only takes a few minutes.
Four words you’ll see below
These are the only machine parts you need to know. Everything else is in plain English.
The small spool of thread under the needle that makes the bottom half of each stitch.
The small metal foot that holds fabric flat while you sew. A lever raises and lowers it.
Two small plates inside the machine that lightly squeeze the top thread.
The metal arm that moves up and down while you sew. The top thread must pass through it.
Free the jam, then rethread the top thread
Turn the machine off. Cut the threads above and below the fabric, lift the fabric away gently, and brush the tangle out of the needle area.
Do not yank the fabric because that can bend the needle. A mess under the fabric is usually a top-thread problem, so pull the top thread out and start again.
- Lift the presser foot and raise the needle. Turn the handwheel, the large wheel on the right side, toward you until the needle reaches its highest point.
- Follow the numbered guides on the machine. Start at the spool, the roll of thread on top, then pass through each guide, around the take-up lever, and down to the needle.
- Make sure the thread drops between the tension discs. You may feel a little drag when it sits in the right place.
- Thread the needle, pull four inches of thread toward the back, lower the foot, and sew a slow test line on scrap fabric.
If the test line looks the same on both sides, you are done. If it does not, check the bobbin next.
Take the bobbin out and put it back in right
With the machine off, open the small cover near the needle and lift the bobbin out. Check three things before it goes back in.
- It spins the right way. Follow the arrow or picture printed beside the holder; many bobbins turn counter-clockwise, which is opposite the hands on a clock.
- The thread end is under the spring. Pull the thread through the little slot until it clicks under the small metal spring.
- It is the right bobbin, wound neatly. A wrong-size, loose, or lumpy bobbin can cause a jam.
Change how you start the seam
If the machine knots on the first stitch, the thread ends may be getting pulled into the machine. Three small habits can stop it.
- Hold both thread ends lightly behind the presser foot for the first few stitches.
- Start about a quarter inch from the fabric edge so the machine has fabric to grip.
- Turn the handwheel, the large wheel on the right, toward you to lower the needle before you press the pedal.
Put in a fresh needle and good thread
A bent or dull needle harms every stitch it makes. Old or rough thread breaks easily and sheds lint into the machine.
With the machine off, push a new needle all the way up with its flat side facing the way your manual shows. Use fresh all-purpose polyester thread on top and in the bobbin.
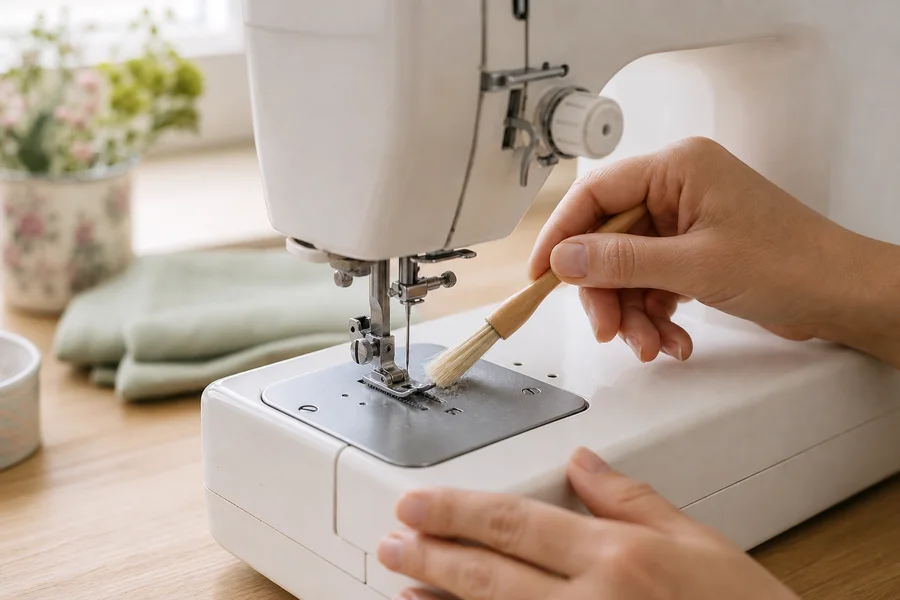
Only then: the tension dial
The tension dial controls how firmly the machine pulls the top thread. It is the last thing to try because threading, the bobbin, and the needle cause most bunching.
- Return the dial to its normal setting, which is often marked in the middle.
- Sew a test line on two layers of scrap fabric and look at both sides.
- Move the dial one half-step at a time and test after every change.
Loops on the bottom can mean the top thread needs a little more tension. A top thread that lies flat like a bar can mean it needs a little less.
When to stop and get help
The checks above are safe to do yourself. Stop sewing and contact a repair shop or the machine maker if you notice any sign below.
- A grinding, clunking, or scraping sound while the machine runs
- A burning smell, or a machine or foot pedal that feels hot
- A handwheel that stays hard to turn after you clear the jam
- Thread stuck deep inside after you remove the bobbin and needle plate, the flat metal plate under the needle, as the manual shows
Frequently asked questions
Why is the mess underneath if the problem is the top thread?
Each stitch uses a top thread and a bobbin thread that lock inside the fabric. When the top thread goes loose, it gets pulled under the fabric and piles up on the opposite side from the cause.
Isn’t it just my tension dial?
Probably not. Threading, the bobbin, and the needle cause most bunching, so the dial belongs at the end of the checklist.
Does thread quality really matter?
Yes. Old thread can turn brittle, and rough thread sheds lint that collects around the bobbin.
My machine only bunches on thick seams. Same fixes?
That can be a different problem because the presser foot tips while it climbs the thick spot. Sew slowly and use the thick-seam method shown in your manual.
About the editor
The permanent editor identity is still a launch gate. Until it is supplied, Machine & Thread uses a clear editorial-desk byline instead of inventing a reviewer.
How this page was built
The fixes come from machine maker manuals and their troubleshooting charts. Your own manual remains the final guide for your model.
Read our process