How to Set Up Your First Sewing Machine, Step by Step
Every home sewing machine uses the same basic setup: a steady table, a wound bobbin, one correct thread path, and a slow test on scrap fabric. This guide covers those steps in plain English, with your machine’s manual as the final word.
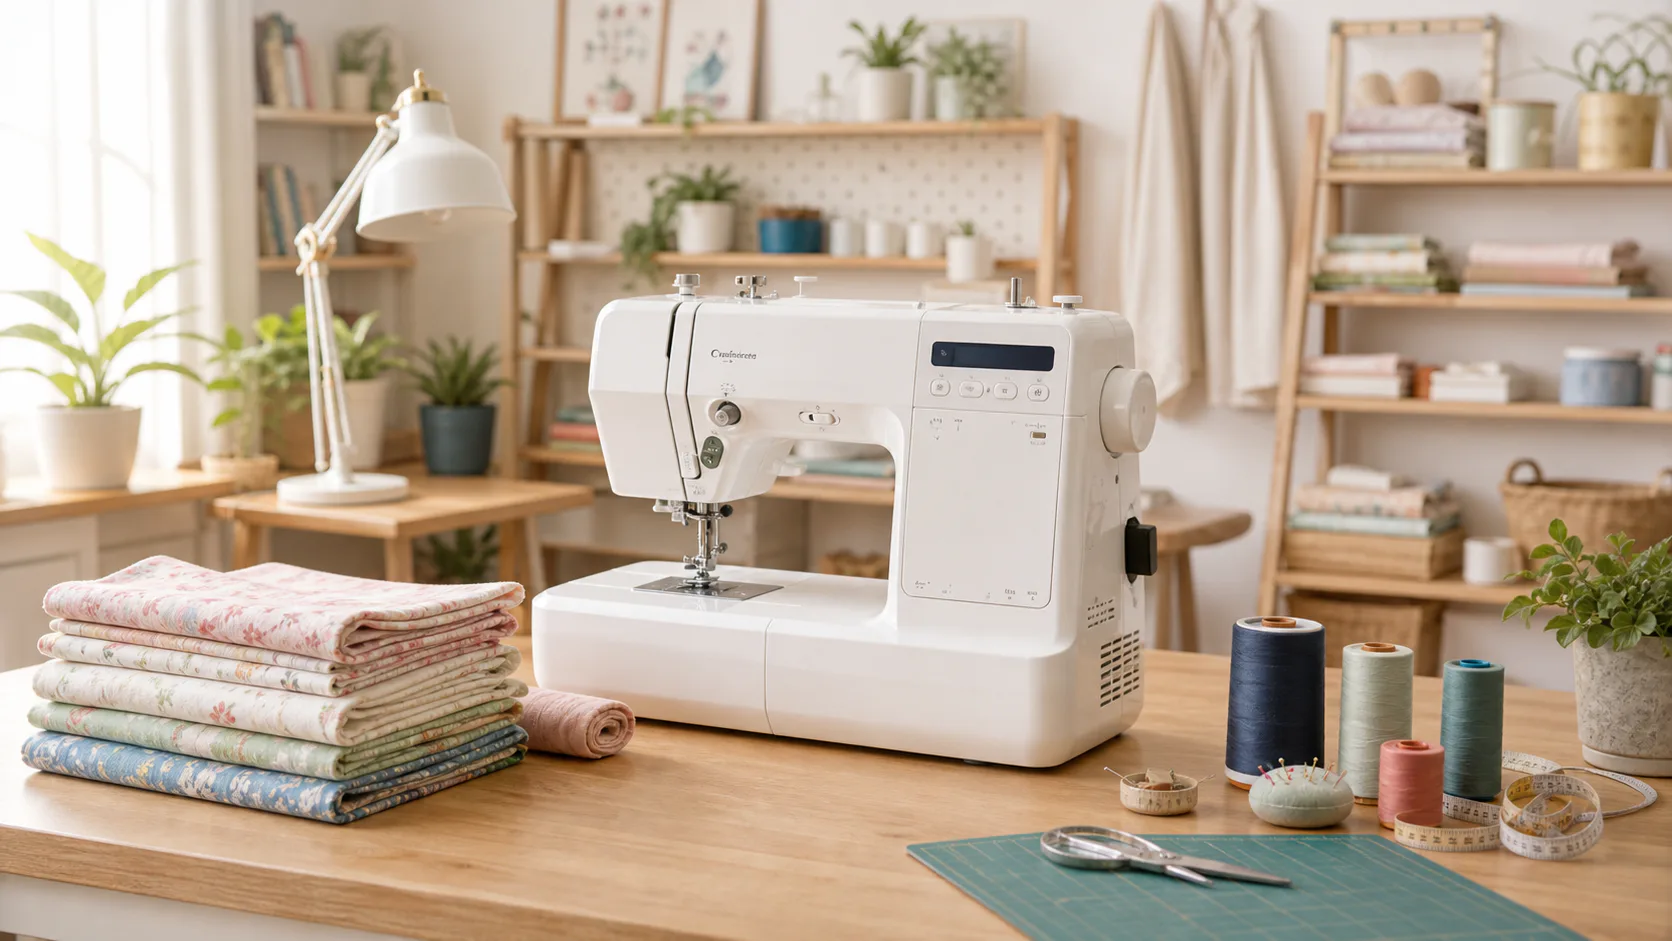
Before you start, gather these
You need less than most lists suggest. Have these six things within reach before you begin:
- Your machine, power cord, and foot pedal
- The manual from the box or the maker’s website
- A steady table near a wall outlet
- One spool of all-purpose polyester thread
- An empty bobbin from the accessory bag
- Two scraps of plain cotton fabric for test stitches
Four words, plain English
These four terms appear in most manuals. Learn them now so the setup steps are easier to follow.
The small spool under the needle that supplies the bottom half of every stitch.
The metal foot that holds fabric flat against the machine while you sew.
Two small plates inside the machine that lightly squeeze the top thread.
The little teeth under the presser foot that grip fabric and move it for you.
Unbox and check what came with your machine
Lift the machine by its body, not the handwheel, which is the large wheel on the right side. Set every accessory bag on the table.
Open the manual to the included accessories page. Match the presser feet, bobbins, needles, screwdriver, seam guide, and cover to the list.
Set up a steady, well-lit workspace
Put the machine on a table that does not wobble. Leave open space to the left of the needle because fabric moves that way as you sew.
Plug in the pedal and power cord as the manual shows. Put the pedal flat on the floor where your foot rests without reaching.
Wind the bobbin
The bobbin must be filled from your thread spool before the machine can sew. Every machine winds it a little differently, but the basic path is the same.
- Put the thread spool on the spool pin, which is the post that holds it. Lead the thread through the bobbin-winding guide shown in your manual.
- Wrap the thread around the empty bobbin. Put the bobbin on the winder spindle, the small post that spins it, and move the spindle into winding position.
- Run the machine slowly. Most machines stop or click when the bobbin is full.
A well-wound bobbin looks smooth and even. If it looks loose or lumpy, remove the thread and start again.
Put the bobbin in its case
Many beginner machines have a drop-in bobbin. Slide off the clear cover by the needle, place the bobbin in the round holder, and follow the printed arrow for the thread direction.
Some machines use a metal bobbin case behind a front door. Follow the picture in your manual and pull the thread through the small slot until it sits under the metal spring.
Thread the top path
Raise the presser foot first. This opens the tension discs so the thread can sit between them instead of sliding over them.
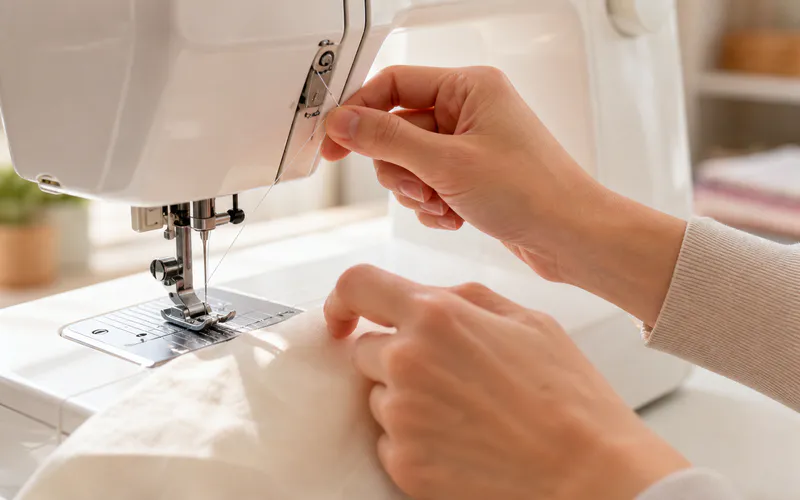
Follow the numbered guides printed on the machine. The thread travels from the spool, through the top guide, down the front channel, around the take-up lever, and down to the needle.
The take-up lever is the metal arm that moves up and down while you sew. Thread the needle in the direction shown by your manual.
Sew your first test rows on scrap
Fold one cotton scrap in half and place it under the presser foot. Lower the foot, choose the plain straight stitch, and rest both thread ends toward the back.
Press the pedal gently and sew a slow row. Guide the fabric lightly because the feed dogs move it; your hands only steer.
Look at both sides of the row. A balanced stitch looks even on top and bottom.
A good row on plain cotton establishes the basic setup. Before moving to denim hems or canvas, check the full project stack and your machine's limits; a flat scrap does not reproduce a raised seam crossing.
If something looks wrong
Most first-day problems have a short list of causes. Try these fixes in order, starting with the thread path.
| What you see | Usual cause | First fix |
|---|---|---|
| Loops or a thread nest under the fabric | Top thread missed the tension discs or take-up lever | Rethread the full top path with the presser foot raised |
| Machine runs but fabric does not move | Presser foot is up, or the feed dogs are lowered | Lower the foot and check the feed-dog switch in the manual |
| Thread keeps snapping | Thread is old or rough, or the spool cap is pinching it | Use fresh all-purpose polyester and reseat the spool |
| Skipped or uneven stitches | Needle is bent, dull, or not pushed in fully | Fit a new needle with its flat side facing the way the manual shows |
Frequently asked questions
Do I have to oil a brand-new machine?
Only if your manual says so. Many current home machines are oiled at the factory, and some should not be oiled by the owner.
What thread and needle should I start with?
Start with all-purpose polyester thread and the general-purpose needle your manual suggests for plain cotton. Save special thread and needles for projects that need them.
Why did my machine come with so many presser feet?
Each foot helps with one job, such as a zipper or buttonhole. Use the standard foot for setup and leave the rest in the bag for now.
How slowly should I practice?
Go as slowly as you need. Learn to stop on your line before you work on speed.
About the editor
The permanent editor identity is still a launch gate. Until it is supplied, Machine & Thread uses a clear editorial-desk byline instead of inventing a reviewer.
How this guide was built
The steps follow maker manuals for common beginner machines. Your own manual remains the final guide for part direction and machine care.
Read our process