The practical guide
Machine embroidery for beginners
Choose a useful embroidery area, compare four Brother starter options, and learn the supplies and steps for your first small stitched design.
Find your machine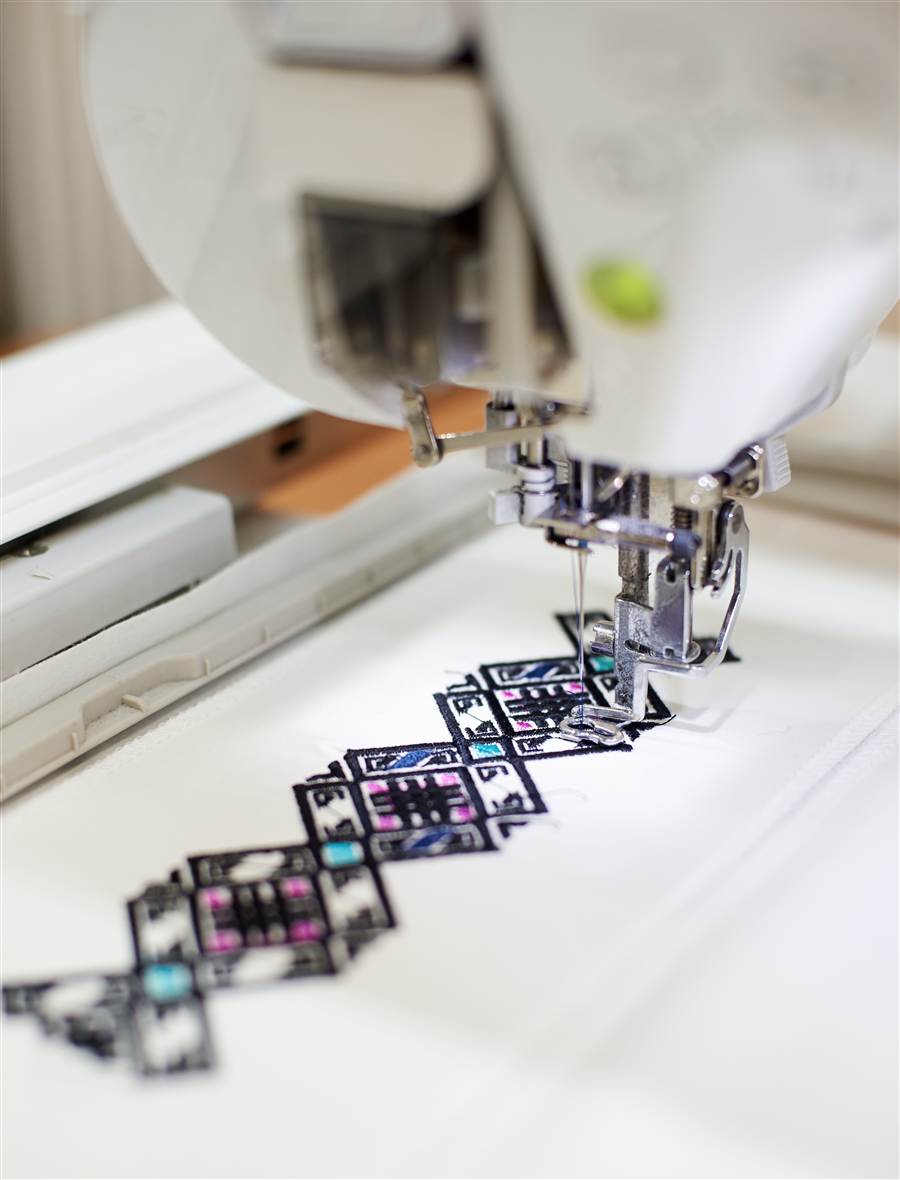
Choose the design. Then choose the machine.
Start with the design you want to stitch
Find two or three designs you would actually use and check their finished dimensions. That tells you more about the machine you need than the number of built-in designs. Then decide whether you want embroidery alone or ordinary sewing in the same machine.
Two decisions narrow the field
Embroidery area
A 4 × 4-inch machine suits designs that fit inside that space. A 5 × 7-inch area gives you more room for larger motifs and lettering layouts. A larger accessory hoop does not increase the machine's maximum single-design embroidery area. Split designs require compatible files and careful repositioning.
Sewing capability
Brother's PE545 and PE900 are embroidery-only machines. The SE700 and SE2000 combine embroidery with ordinary sewing. If you already like your sewing machine, an embroidery-only model lets that machine remain set up for seams.
| Model | Embroidery area | Ordinary sewing? | Best fit |
|---|---|---|---|
| Brother PE545 | 4 × 4 inches | No | Small motifs on a separate embroidery machine. |
| Brother PE900 | 5 × 7 inches | No | More design room alongside a sewing machine you own. |
| Brother SE700 | 4 × 4 inches | Yes | Small embroidery and everyday sewing in one machine. |
| Brother SE2000 | 5 × 7 inches | Yes | A combination machine with more embroidery room. |
Brother PE545: small embroidery only
Consider this when your chosen designs fit 4 × 4 inches and you do not need sewing stitches. The limit matters before you buy: even a modest name-and-motif layout can outgrow a small embroidery area.
Check PE545 on AmazonBrother PE900: more embroidery space
The 5 × 7-inch area makes sense if your actual designs need the extra room. This remains an embroidery-only choice; keep a separate sewing machine for construction and repairs.
Check PE900 on AmazonBrother SE700: sewing plus small designs
Choose a combination machine when you need sewing stitches as well as 4 × 4-inch embroidery. You must change the setup between jobs, so it cannot sew a seam while it embroiders another piece.
Check SE700 on AmazonBrother SE2000: sewing plus 5 × 7 designs
This combines ordinary sewing with a larger embroidery area. It is worth considering when both functions will get regular use; occasional small motifs alone do not establish a need for this upgrade.
Check SE2000 on AmazonWhat you need besides the machine
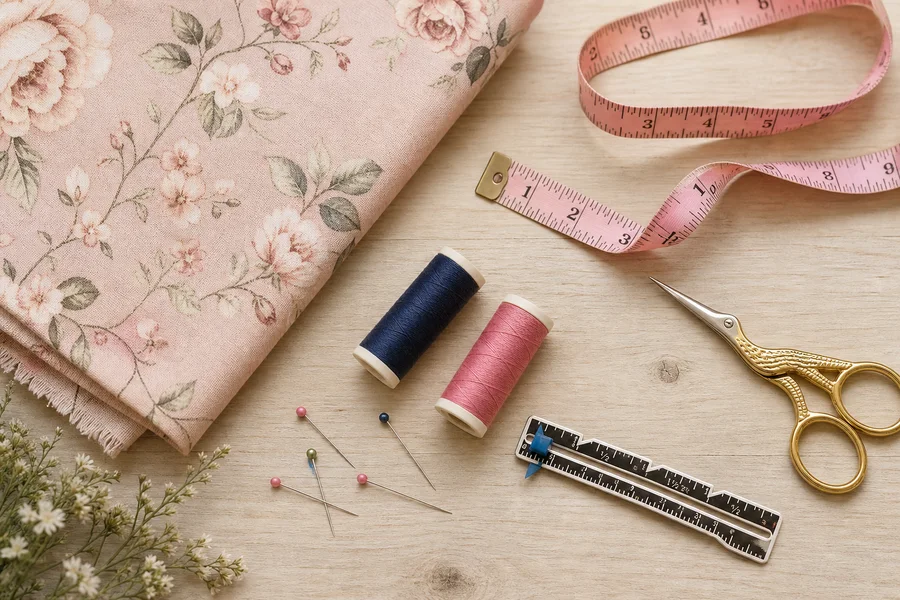
- Fabric and stabilizer: stabilizer supports the fabric while dense stitching is formed. Choose its type and removal method for your fabric and design; test the combination on scraps first.
- Appropriate thread, bobbin, and needle: use the sizes and types specified for your exact model. An ordinary sewing-thread setup is not automatically the right embroidery setup.
- A compatible hoop: check both the machine's supported hoops and the design dimensions. Package photographs are not a substitute for the included-accessory list.
- A stitch file: use a built-in design for your first test. A JPG or PNG picture is not a ready-to-stitch embroidery file; converting artwork into stitches requires digitizing.
Check the current transfer method and software requirements in the manual before paying for designs or software. Keep the first supply order small until a sample stitches cleanly.
Your first design, step by step
- Pick a small built-in design. Check its size, color sequence, and the required hoop on the screen.
- Prepare a sample. Use scrap fabric and suitable stabilizer. Hoop them as the manual directs, without stretching the fabric out of shape.
- Set up embroidery mode. Follow the model's instructions for the embroidery unit, foot, needle, bobbin, and top thread. Switch off or disconnect power for the setup steps specified by the manual.
- Check the frame's travel. Clear the table around the moving hoop. Use the machine's layout or position check before stitching.
- Stitch and inspect. Stay nearby, follow color-change prompts, and pause if thread breaks or fabric starts bunching. Keep hands clear of the moving needle and frame.
- Finish the sample. Remove stabilizer according to its directions and inspect both sides. Correct the setup on another scrap before moving to a garment.
When to wait or ask for a demonstration
If you mainly want repairs or garment seams, start with a regular sewing machine. If your designs exceed 5 × 7 inches, or you want to embroider structured caps or repeated commercial orders, ask a specialist dealer to demonstrate your actual project before choosing a home model.
Compare home and dealer options in our embroidery machine guide, or return to the sewing guide library.
For the hoop limitation, see Brother's explanation of hoop size versus embroidery space.
Specifications and manuals
Check the manufacturer’s model details and included accessories:
Our recommendations use published information, not hands-on testing. How we evaluate machines. Report a correction.